
DIY Sod Installation vs. Hiring a Pro in Tampa Bay: What Florida Homeowners Should Really Know
DIY or professional sod installation in Tampa Bay? Here is the real cost, the grower's own warning, and the three prep steps that decide if sod lives.
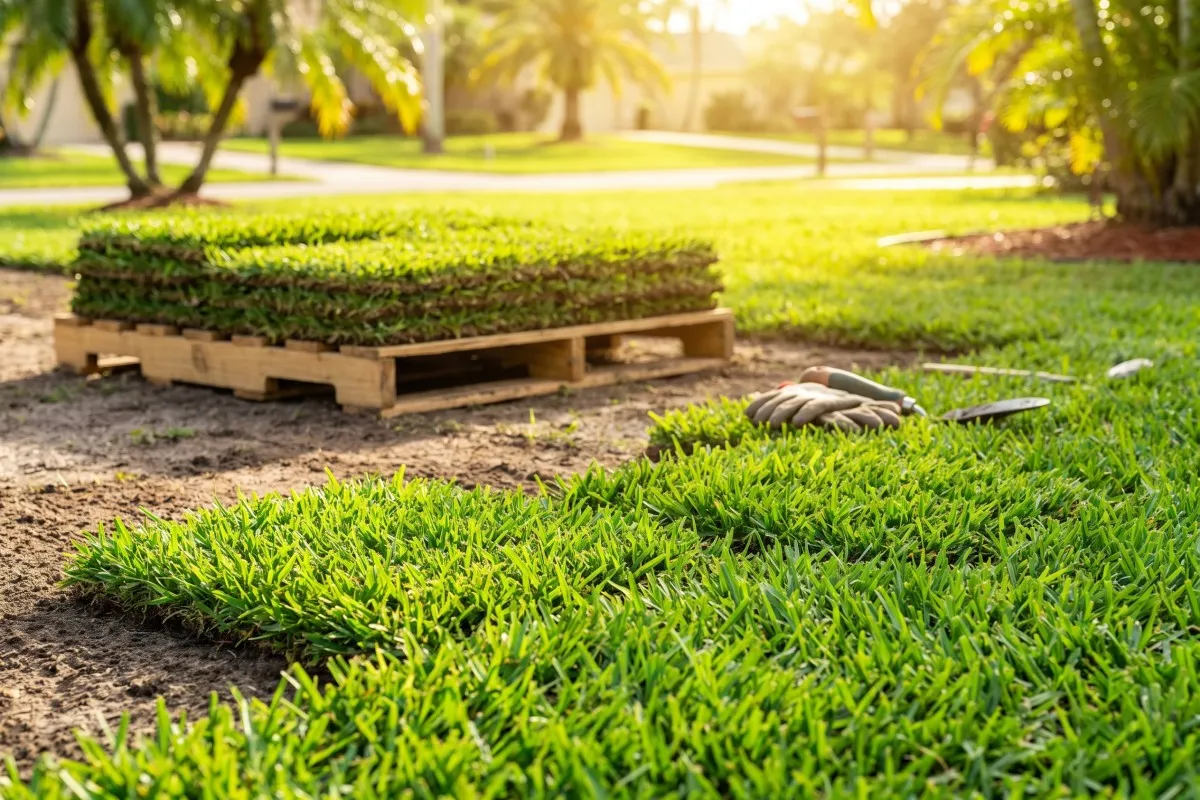
If you are weighing a weekend of your own labor against hiring a crew, here is the honest answer we give every homeowner who asks: on a small, flat patch you can do it yourself and save real money, but on a full yard the gap between doing it right and doing it fast is where most DIY lawns quietly die. Professional sod installation in Tampa Bay is not mostly about laying grass. It is about grading, sprinkler protection, and rolling, and those are exactly the steps a rushed weekend job skips. We are the crew that walks yards across Riverview, Brandon, and Valrico, and the failures we get called to rescue almost never failed because of the grass.
This guide walks you through what a self-install actually involves, what it costs both ways, and where Florida yards punish shortcuts. We are not here to talk you out of doing it yourself. We are here so that if you do, you know what you are signing up for.
What professional sod installation in Tampa Bay actually costs
Start with the money, because that is what sends most people down the DIY road in the first place. Professional installation nationally runs about $1 to $2 per square foot including removal, prep, sod, delivery, and labor, while in Central Florida most lawns land between roughly $0.70 and $1.35 per square foot installed as of 2026 (LawnStarter 2026 sod cost guide; Osceola Sod 2026 Central Florida prices). We sit closer to the growers than almost anywhere in the country, so the material half of that number is genuinely low here.
Doing it yourself does not make the labor free. It moves it onto your back and your rental bill. A single pallet of sod covers roughly 450 to 500 square feet and runs $150 to $450 depending on variety (HomeGuide 2026 sod prices). Then come the tools. A motorized sod cutter to strip your old lawn rents for about $70 to $115 a day, before any delivery fee (GrowIt BuildIT sod cutter rental costs). A lawn roller to seat the new sod is a second rental. Add a truck or trailer to haul pallets, disposal for the old turf, and the two or three days it eats.
Run the real math and the savings on a full yard are thinner than the sticker suggests. On a small side yard, DIY clearly wins on cost. On a quarter-acre lot, you are trading a weekend of hard labor and a few hundred in rentals for a job a crew finishes in a single day.
The grower’s own warning about early mistakes
This is the part budget math leaves out, and it is the whole reason we push back gently on the DIY-everything instinct. The sod farms we buy from say it plainly. In their published care guidance, one Tampa-area grower writes that installation and the care in the first days after it “are the most critical factors in determining the long-term quality and performance of your lawn,” and that improper care “can cause death of the turfgrass or damage that may result in lengthy recovery and additional expense” (FreshSod new sod care).
Read that twice. The people who grow the grass are telling you the install and the first week decide everything, and that getting it wrong does not mean a slightly patchy lawn. It means dead sod and paying twice. That is the risk you are personally underwriting when you self-install. It is not a reason to never try. It is a reason to respect the steps that a low bid, or a hurried Saturday, tends to cut.
Step by step: what a DIY sod install really involves
If you are going to do it, do the whole sequence, in order. Skipping any one of these is how weekend lawns fail. Here is the real order our crews run, translated into what you would do yourself.
- Strip the old lawn to bare dirt. New roots have to reach soil, not sit on dead thatch. Rent the sod cutter and take it all down to clean ground.
- Find and flag every sprinkler head before a blade touches the yard, plus any low-voltage lighting or pet-fence wire.
- Grade for drainage so water sheets away from the house and hard surfaces, not toward them.
- Loosen and level the sod bed so roots have somewhere to go, without over-tilling it to dust.
- Lay fresh-cut sod tight, staggered like brickwork, with no gaps, the same day it is cut.
- Roll it flat to press out the air pockets and seat the roots against the soil.
- Soak it immediately and keep watering on a strict schedule while it knits down.
That is not a hard list to read. It is a hard list to execute well in a single weekend, in Florida heat, with rented equipment you are using for the first time. The three steps in the middle are where it goes sideways.
Where DIY installs go wrong in Florida yards
Grading is the one we see botched most, and it is invisible until the first hard rain. UF/IFAS recommends a fall of roughly 1 to 2 percent away from structures, on the order of a half-foot to a foot of drop over 50 feet, and warns installers to account for the thickness of the sod itself when setting the final grade (UF/IFAS ENH02/LH012). That last detail catches nearly every first-timer. Sod adds height. Grade the dirt flush to your walkway and the finished lawn ends up an inch proud of it, so water runs the wrong way and pools against the slab. We hand-grade the yards we walk because a rake reads the low spots a machine rolls right over. This is the step we break down in full in our guide to soil grading and prep for sod.
Sprinklers are the second trap. A motorized sod cutter shears a poorly marked head clean off, and now you have a repair bill plus a dry patch exactly where the spray used to reach. We set the finished grade so heads sit at the right height and spray over the grass instead of into a wall of it.
Rolling is the one people skip because it feels optional. It is not. UF/IFAS specifically calls for rolling or tamping to remove air pockets so new roots do not dry out during establishment (UF/IFAS ENH03/LH013). A square that is not seated tight to the soil dries from underneath and browns while everything around it greens up. Timing compounds all of this. Sod is a perishable crop, and pallets left sitting in Florida heat can cook from the inside, which is why growers press installers to lay it within about 24 hours of harvest. We cut fresh right before we install, which sidesteps that clock entirely. A DIYer waiting on delivery rarely has that luxury.
Then there is the water, which kills more new sod than any tool ever does. The grower’s schedule is demanding: light, frequent soaks daily for the first weeks, tapering as roots take hold, and never so much that you invite fungus (FreshSod new sod care). We hand every customer that plan on install day and walk through it, because it is the single most common place a fresh lawn gets lost. We map the Tampa Bay specifics, including local watering rules, in our new sod watering guide.
When DIY makes sense, and when to call us
None of this is a blanket verdict. A small, flat, well-draining patch with easy access and no irrigation to protect is a reasonable weekend project, and if that is your yard, go for it. The variables that push a job toward a crew are the ones that raise the stakes: real drainage problems, an irrigation system worth protecting, a lawn big enough that the rented sod cutter and roller start eating your savings, or access that makes hauling pallets a chore. When a customer tells us the corner that stays soggy, the strip that never greens up, or the slope that sends water at the slab, that is usually the yard where prep is worth paying for.
One more thing shapes the choice. Central Florida sits in USDA hardiness zones 9b to 10a with a growing season near 330 days, so our warm-season grasses root and grow across most of the calendar (USDA Plant Hardiness Zone Map). Sod can go down any month here, DIY or professional, which means you never have to rush a self-install to beat a season. Take the weekend you need. Just do not skip the grade.
A word on warranties, either way
If you hire out the job, you will hear installers pitch a warranty, and it is worth staying skeptical. Once sod leaves the field it lives or dies on watering and prep, both of which shift the moment a crew drives off, so most sod “guarantees” carry conditions that quietly put the risk back on you. We would rather be honest about that than sell you false comfort, which is why we do not offer one, and why we explain the reasoning in why sod has no real warranty in Florida. The same logic is exactly why the install and the first week matter so much: nobody is going to bail you out of a bad grade.
What we will tell you is straightforward. Fresh sod on a properly prepared bed, watered right, gives itself the best chance to root deep and hold through a Florida summer, whether your hands or ours put it down. If you have walked through this and decided the grading, the sprinklers, and the rolling are more than you want to take on, we are glad to walk your yard anywhere across Hillsborough, Manatee, or Pinellas and map out exactly how the job would run before you commit to anything.

Fresh-cut sod installation, replacement, and delivery in the Tampa Bay area.
Continue reading
7 Sod Installation Mistakes Tampa Bay Homeowners Make (And How to Avoid Them)
The 7 sod installation mistakes Florida homeowners make most, what each one looks like weeks later, and how our Tampa Bay crews avoid every one.
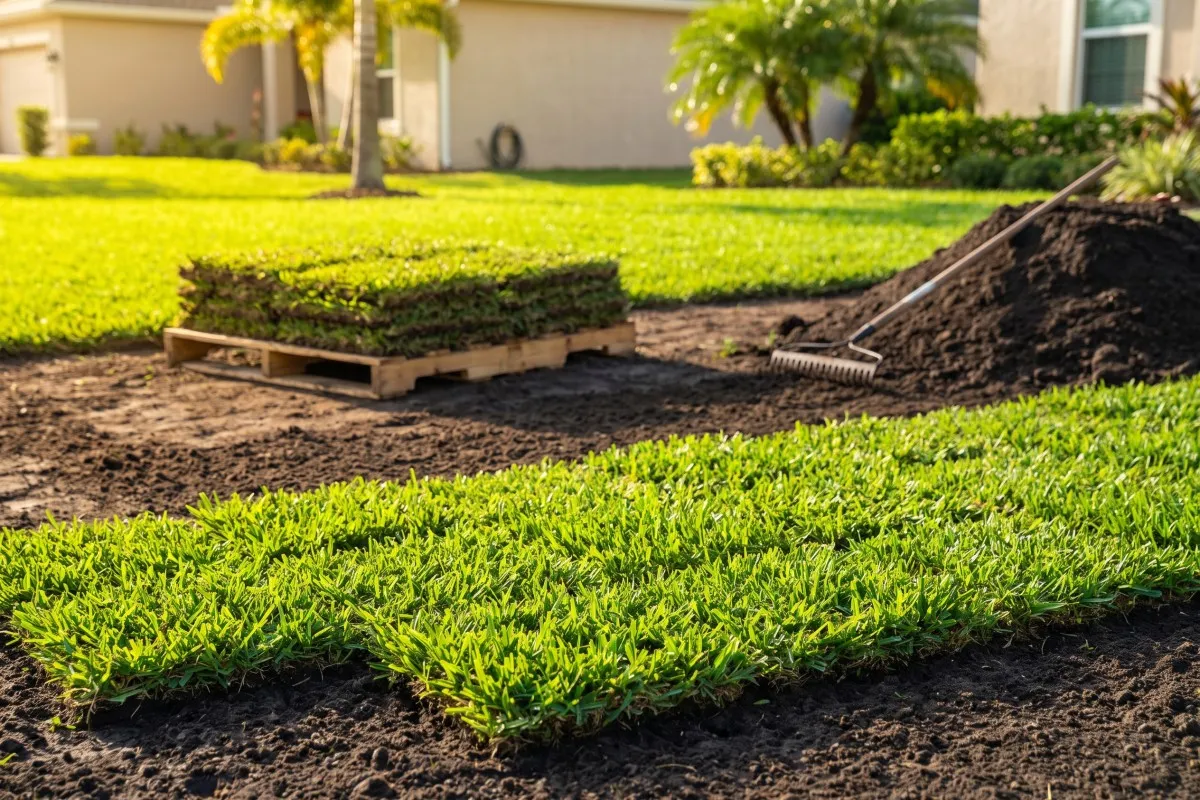
Soil Preparation for Sod Installation in Florida: Why Grading and Prep Make or Break Your Lawn
Soil preparation for sod installation in Florida decides whether new sod roots or fails. Here is the grading and prep work our crews do before the first pallet.
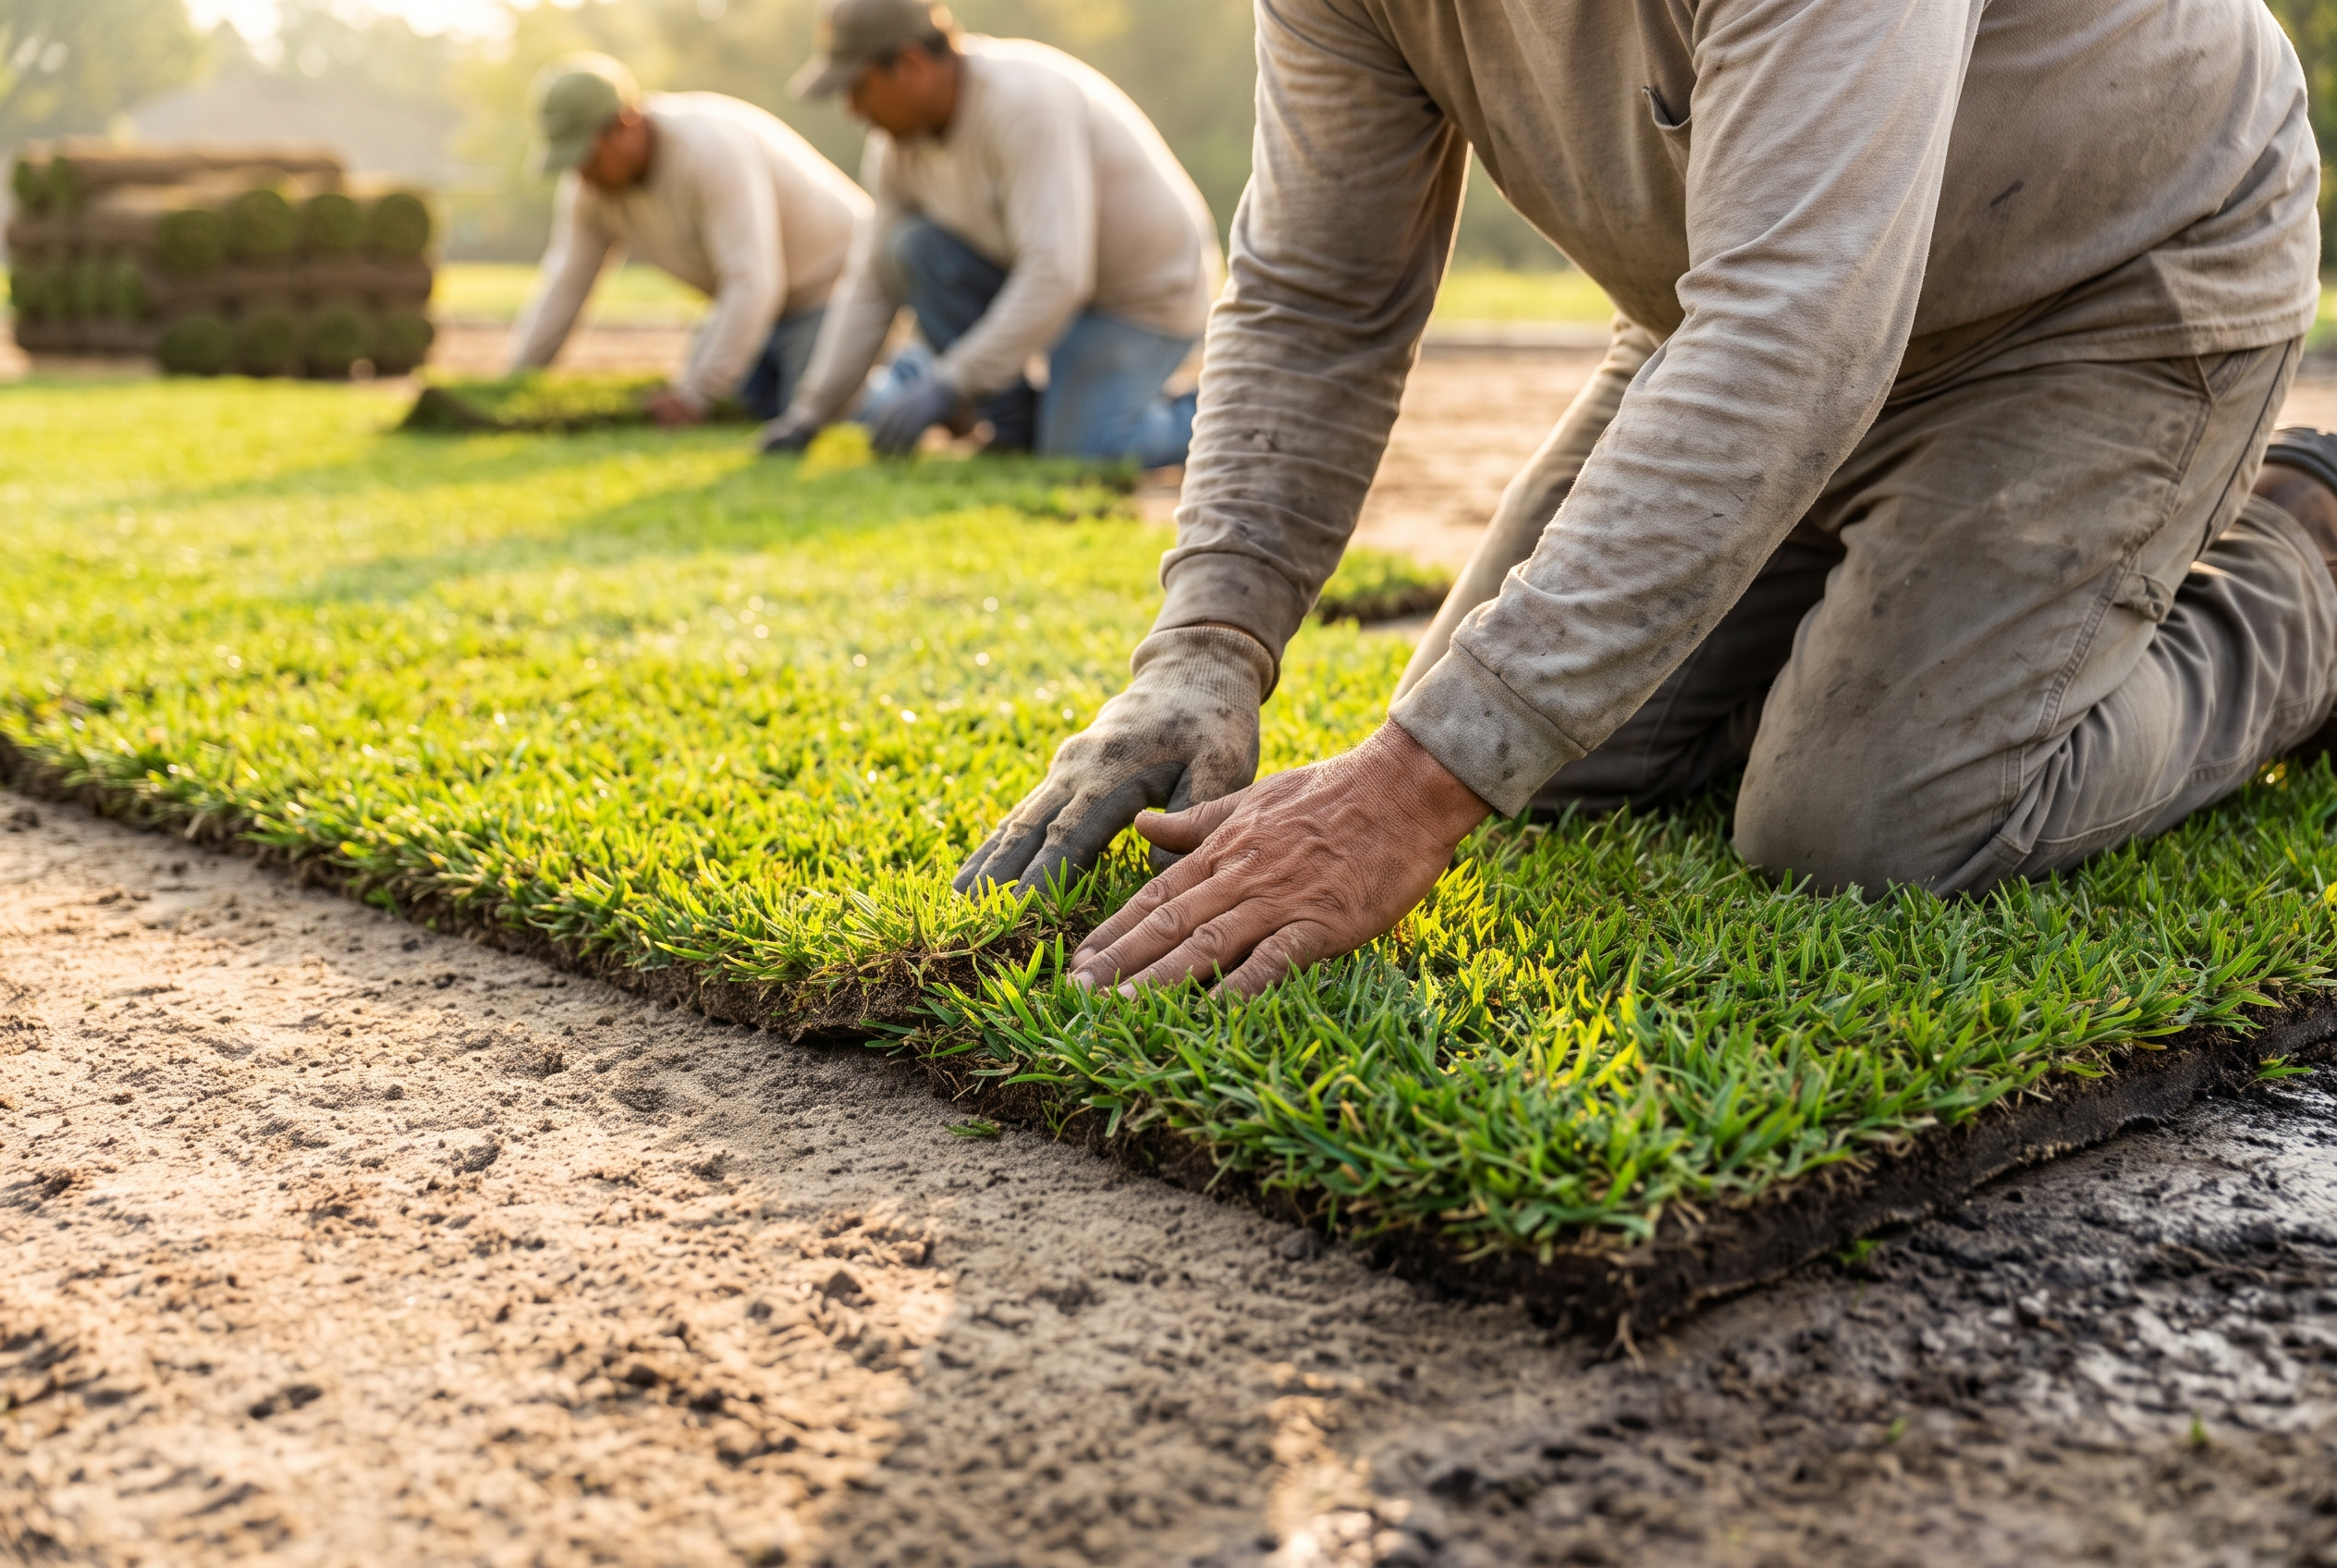
The Sod Installation Process in Florida: What Happens on Install Day in Tampa Bay
The sod installation process in Florida, behind the scenes: what our Tampa Bay crew does on install day and how to spot a job done right.